Touch and react blog 2
I thought of a dragging dog, and how i could use a knitted resistance-range sensor that pulls it.
Well, I'm not butching a real draggy dog toy, and didn't have time to make one.
Sooo, stroke sensor with a soft stuffed animal.
DI, here I come!
I got a cutie. Almost didn't want to ruin him by cutting and pulling out his insides. "Well, why don't you go get another, crappier animal and use that?" "because. Two stuffed animals would be... too many." "Not really!" A male saying this...?! "Why?" "You've hugged it, like, ten different times just since we left the restaurant." :[ !
But I can DO THIS! so I did. Ran out of time to go to DI again anyway. Confidence!

such a lovable face! *clears throat* Anyway, I decided that cutting his bottom open would be the least ugly-ifying.

lets have the stroke sensors where you hold him, thought I. also this was gonna look a bit awkward, diagonals look cooler than verticals.

hacked up ethernet cord!!

Positive and negative. Check.

my first clever moment. so I'm not dying trying to keep them in place when its invisible to me.

just stab it with a wire! oh yeah. I love wire!!!

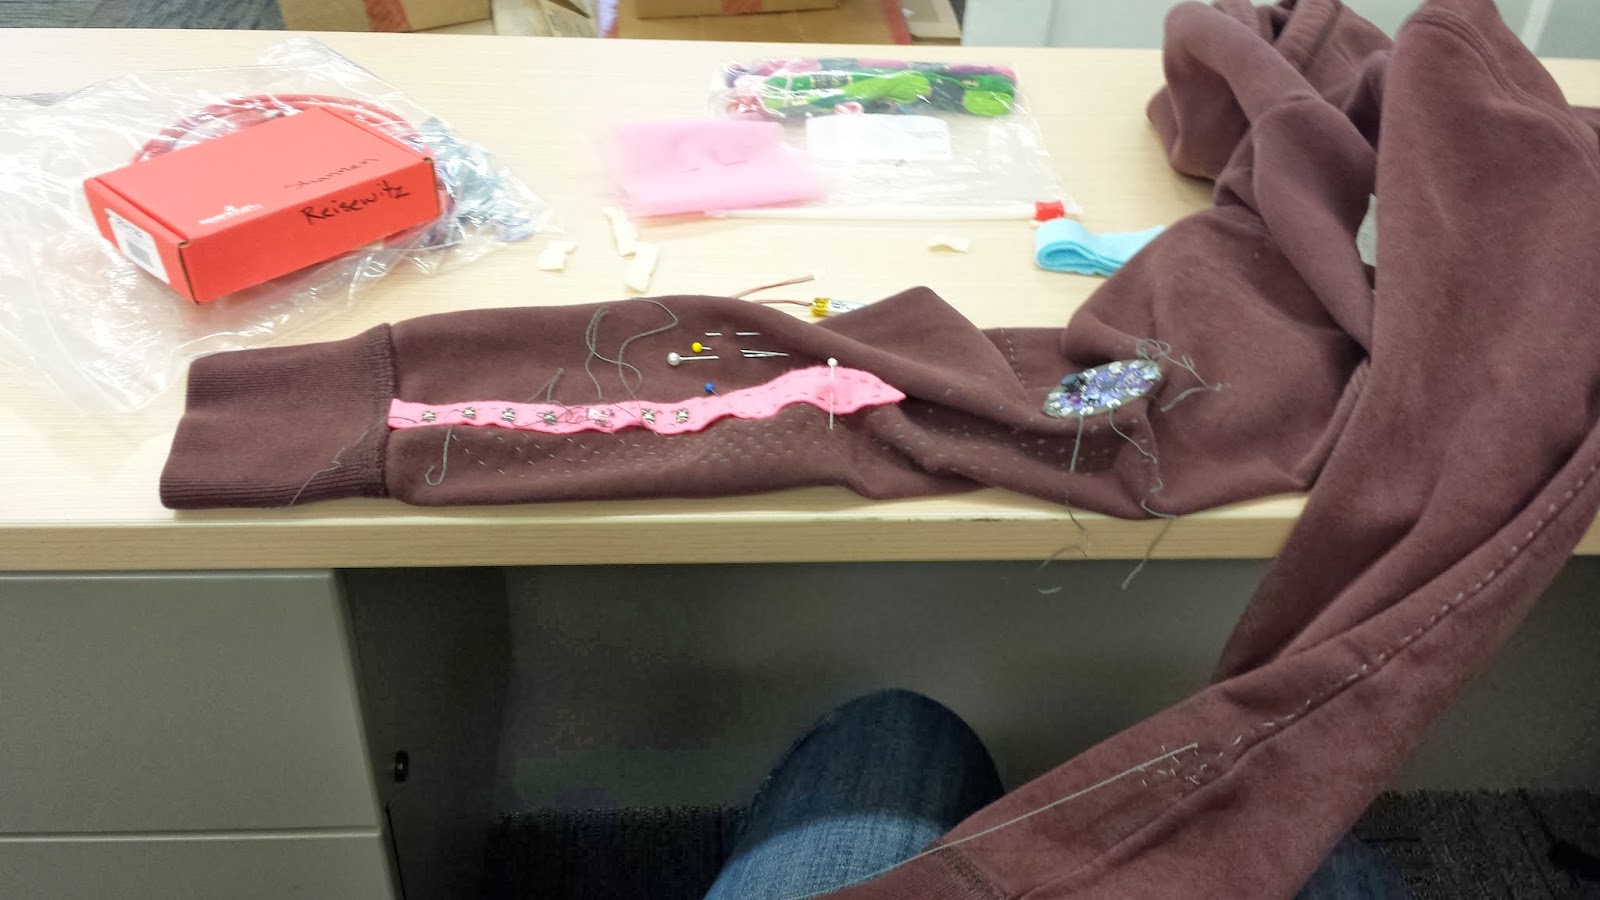
second clever moment. tabs. Cuz the conductive ribbon is sandwiched between his skin and the felt, this helped me to, um... yeah. still a lot of guessing about where to sew.

Worked out! First one on left, I made them too far apart and added a middle row. Second is on right, that looks LEGIT.

Cool, Let's code! haHA, not so fast, Shannen. You can't do **** with this buzzer. Which one is it, anyway? (https://www.sparkfun.com/tutorials/308) Way to forget your protosnap on lab day, then not play with it on the next lab day. Noob! So I unhooked my animal, and just learned lilypad test coding stuff that evening. Until 3 am. Woow. (This site really helped, along with a few others that I neglected to bookmark once I downloaded the code. That or I just don't get how firefox stores its stars. :P http://rebeccaajones.wordpress.com/2012/12/28/arduino-lilypad-protosnap/)
Still could not get my swouccin' buzzer to play music! But I got my RGB to do stuff, and finally found a simple code that made it buzz. I wish the "ray gun" code I found worked, that looked like it would sound really cool!
Also, our lilypad doesn't have access to all of the PINS?!? Why not buy the bigger one? ...oh well.

after some glorious sleep, I decided to try making my own switch using the lilypad LED... then stuck both sides to the opposite ends of my stroking-switch. :( It was stuck on!!! I sewed on too many threads, or sewed them across the wrong conductive strips! Rip.. rip... rip...
Once the light stopped being stuck on, I combined the switch-with-light and buzz-with-button codes into one, snapped out my pieces (oh god! The irreversibility!) and hooked it up with my existing wires. The thing I thought was redundant? It was. I looooove croc-clips. alligator... Lyle the Crocodile...
It was an awesome moment, when the code made a buzz as I stuck the threads together.

Then I got fancy, and added some IF statements to have three different frequencies depending on WHICH sensor was stroked (or both). So. Yeah. Go team! also... also? I had tried reaching instructors, but was just ready to go make food and do taxes, so instead of waiting around until the evening, I wanted to be DONE and have it off my mind. So wrapped it up.
I shoved the alligator clips into my fluffy guy, cuz I COULD. And it was a glorious simplification of my life.
PS, I didn't come to the craft lab because I was at work making Pizzas! Weekend evenings are bad for me! :(
Here is my code.
//int ledPin = 13; // LED is connected to digital pin 13
int buzzerP =9;
int switchPinR = 5; // switch connected to digital pin 2
int switchPinL = 6;
int switchValueR; // a variable to keep track of when switch is pressed
int switchValueL;
void setup()
{
//Buzzer
pinMode(buzzerP, OUTPUT); // set both buzzer pins as outputs
// pinMode(buzzerN, OUTPUT);
// pinMode(ledPin, OUTPUT); // sets the ledPin to be an output
pinMode(switchPinR, INPUT); // sets the switchPin to be an input
digitalWrite(switchPinR, HIGH); // sets the default (unpressed) state of switchPin to HIGH
pinMode(switchPinL, INPUT); // sets the switchPin to be an input
digitalWrite(switchPinL, HIGH); // sets the default (unpressed) state of switchPin to HIGH
}
void loop() // run over and over again
{
switchValueR = digitalRead(switchPinR); // check to see if the switch is pressed
switchValueL = digitalRead(switchPinL);
if ((switchValueR == LOW) && (switchValueL == HIGH)) // if ONLY the R switch is pressed then,
{
//digitalWrite(ledPin, HIGH); // turn the LED on
digitalWrite(buzzerP, HIGH);
// digitalWrite(buzzerN, LOW);
delay(.92);
digitalWrite(buzzerP, LOW);
// digitalWrite(buzzerN, HIGH);
}
else if ((switchValueL == LOW) && (switchValueR == HIGH))// if ONLY the L switch is pressed then,
{
//digitalWrite(ledPin, HIGH); // turn the LED on
digitalWrite(buzzerP, HIGH);
// digitalWrite(buzzerN, LOW);
delay(.77);
digitalWrite(buzzerP, LOW);
// digitalWrite(buzzerN, HIGH);
}
else if ((switchValueL == LOW) && (switchValueR == LOW)) //if BOTH switches are pressed then,
{
//digitalWrite(ledPin, HIGH); // turn the LED on
digitalWrite(buzzerP, HIGH);
// digitalWrite(buzzerN, LOW);
delay(.997);
digitalWrite(buzzerP, LOW);
// digitalWrite(buzzerN, HIGH);
}
else { // otherwise,
//digitalWrite(ledPin, LOW); // turn the LED off
digitalWrite(buzzerP, LOW);
}
}
Comments
Post a Comment