touch capacitive blog
I was ill, so am behind. But I wanted to post a link lest the discussion close while I finish up my dealio. All pictures are on my phone, but rest assured, I have pictures.
><><><
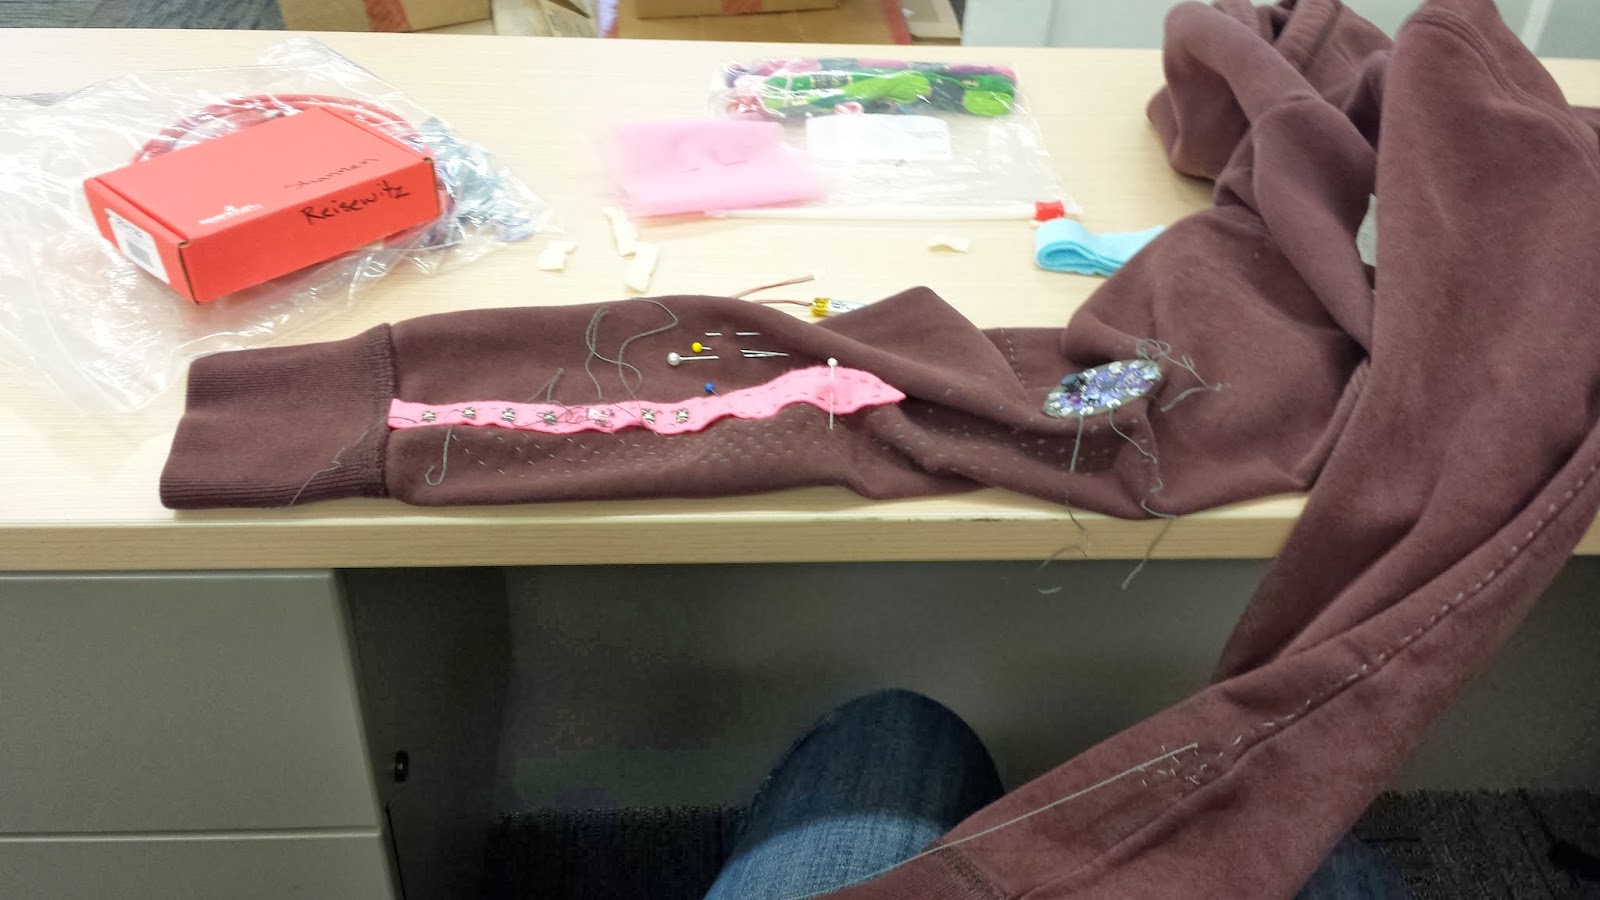
So I knew right away that I wanted a sensor that would warn me that I was grinding my wrists into the desk again. I just do that sometimes, especially in the DE classroom, their desk surface is quite shallow! So, I grabbed some lights to do the typical cool color to red progression. I was going to do both sleeves, then realized how horrible sewing all of the positive and negative lines twice as far would be. So I decided to have one sleeve with lights, and doubled them up so that the progression could be across a larger spectrum.
I put the lights on felt, so that I would have more control on their placement, but mostly sewing would be easier on a strip than a sleeve!
I tacked everything down with regular string, so that I would not be compelled to use the conductive thread that way. As you can see, it's pretty messy on the back, fine for thread, BAD for 'wires'.

 this time I broke up the sewing, so that it didn't make my back ache.
I also left a lot of extra thread to sew in my foil sensors. Too much, but I wasn't sure if they needed to be super sewed in or not. Thinking about it, 'not' is rather obvious, but whatever.

Then I realized I had better keep the led's flexible, because of the iron potentially damaging them when I applied the foil. So I left extra thread by their + sides, letting my felt fold up yet. After a couple I got lazy, and just left extra by the lily pad to tie the knots later. It also saved my back some serious hunching damage.

Then class happened, and I guess that will be my next blog.
><><><
So I knew right away that I wanted a sensor that would warn me that I was grinding my wrists into the desk again. I just do that sometimes, especially in the DE classroom, their desk surface is quite shallow! So, I grabbed some lights to do the typical cool color to red progression. I was going to do both sleeves, then realized how horrible sewing all of the positive and negative lines twice as far would be. So I decided to have one sleeve with lights, and doubled them up so that the progression could be across a larger spectrum.
I put the lights on felt, so that I would have more control on their placement, but mostly sewing would be easier on a strip than a sleeve!
 |
| I was so focused on color that I forgot about + /- orientation! Hooray for tacking! |
 |
| could focus on using conductive thread as just a wire |
this time I broke up the sewing, so that it didn't make my back ache. I also left a lot of extra thread to sew in my foil sensors. Too much, but I wasn't sure if they needed to be super sewed in or not. Thinking about it, 'not' is rather obvious, but whatever.
Then I realized I had better keep the led's flexible, because of the iron potentially damaging them when I applied the foil. So I left extra thread by their + sides, letting my felt fold up yet. After a couple I got lazy, and just left extra by the lily pad to tie the knots later. It also saved my back some serious hunching damage.
Then class happened, and I guess that will be my next blog.
Comments
Post a Comment